
Gathering Materials
Creating a 1/64 scale car garage diorama can be a rewarding project that encourages creativity and resourcefulness. To start, it is essential to gather materials that can be repurposed from common household items. A great source of materials is found in areas of your home that typically contain unused or overlooked items. For instance, cardboard boxes, such as those from groceries or electronics, provide a sturdy base and can be easily cut and shaped to form various structures within your diorama.
Old toy parts can also serve as valuable components. Think about disassembled toy cars, action figures, or even broken toys that no longer hold any sentimental value. These pieces can be integrated as accessories, adding life and detail to your garage environment. Additionally, consider scrap wood from previous projects or household items that have been discarded. Wooden popsicle sticks, for example, can be transformed into shelving or other structural components within the garage.
Another excellent material to consider is fabric, which can be used to create items such as carpets or cushions for a more realistic setting. Similarly, plastic containers, bottle caps, or other odds and ends like buttons can serve as tools or parts scattered around your miniature garage. As you gather materials for your diorama, it is valuable to keep in mind the scale you are working with; items should be proportionate to the 1/64 scale, ensuring that they fit cohesively into the overall design.
In conclusion, by utilizing household items creatively, you can craft a detailed and visually appealing car garage diorama while minimizing costs. Think innovatively about the items around you, and let your creativity guide you in repurposing them for your project.
Designing the Layout
When embarking on the creation of a 1/64 scale car garage diorama, the importance of a well-thought-out layout cannot be overstated. The initial stage of your project should involve sketching the garage layout on paper, as this serves as a foundational blueprint. Begin by considering the placement of vehicles, workstations, and tools, all while keeping the scale in mind. This not only aids in visual planning but also ensures that all elements function harmoniously within the limited space of your diorama.

Take time to determine how many cars you intend to feature in your design. Each vehicle should have ample space for accessibility and visual appeal, preserving a realistic atmosphere. It might also be useful to group cars according to their function or make, as this adds a layer of organization to your design. Furthermore, incorporating workstations can enhance the practical aspects of your garage layout. Think about areas dedicated to maintenance or detailing, making it easy for miniature mechanics to perform their tasks, thus adding narrative depth to the scene.
Next, it is imperative to focus on scaling the design accurately. The 1/64 scale means that every item must conform to this size for the diorama to appear coherent and visually engaging. Use rulers and scales to measure your garage components accurately. This way, every tool, shelf, and workbench fits proportionally, avoiding overcrowding while maximizing visual interest. You could also incorporate vertical elements, such as shelving units or hanging tools, to utilize space effectively. The combination of careful planning and thoughtful placement will make your diorama not just an aesthetic showcase but also a functional miniature world.
Building the Garage Structure
Constructing the garage for your 1/64 scale car diorama begins with gathering the necessary household materials. Common items such as cardboard, wood scraps, or foam boards can serve as a solid foundation. First, measure and cut your base to a suitable size, ensuring that it accommodates your chosen vehicles and additional diorama elements. A sturdy base is essential for displaying the finished product effectively.
Next, create the walls of the garage by cutting out rectangular pieces from your selected material. Cardboard is an excellent choice due to its ease of manipulation. Assemble these walls by affixing them together using strong adhesive or tape. Ensure that the corners are aligned properly to achieve a neat finish. For added realism, consider reinforcing the corners with additional strips of material, mimicking the look of actual construction.
Once the walls are assembled, it is time to refine their appearance. Apply a coat of paint to replicate the look of real garage siding. Neutral colors like grays and browns often work well, but do not hesitate to explore other shades that resonate with your creative vision. To enhance the structure’s realism, consider incorporating weathering techniques; this can be achieved through dry brushing with lighter tones to simulate wear and tear. Utilizing pastels can also help create dirt and grime that adds character to the surfaces.
Another technique to enhance the texture of your garage is to add small details such as windows, doors, and a roof. You can create windows from plastic sheets or additional pieces of cardboard. For the doors, consider using small hinges or simply painted representations of garage doors. Finally, the roof can be constructed using triangular sections or simply flat pieces, depending on the style you wish to achieve. By concentrating on these finer details, your diorama will gain a sense of authenticity that draws viewers in.
Adding Finishing Touches
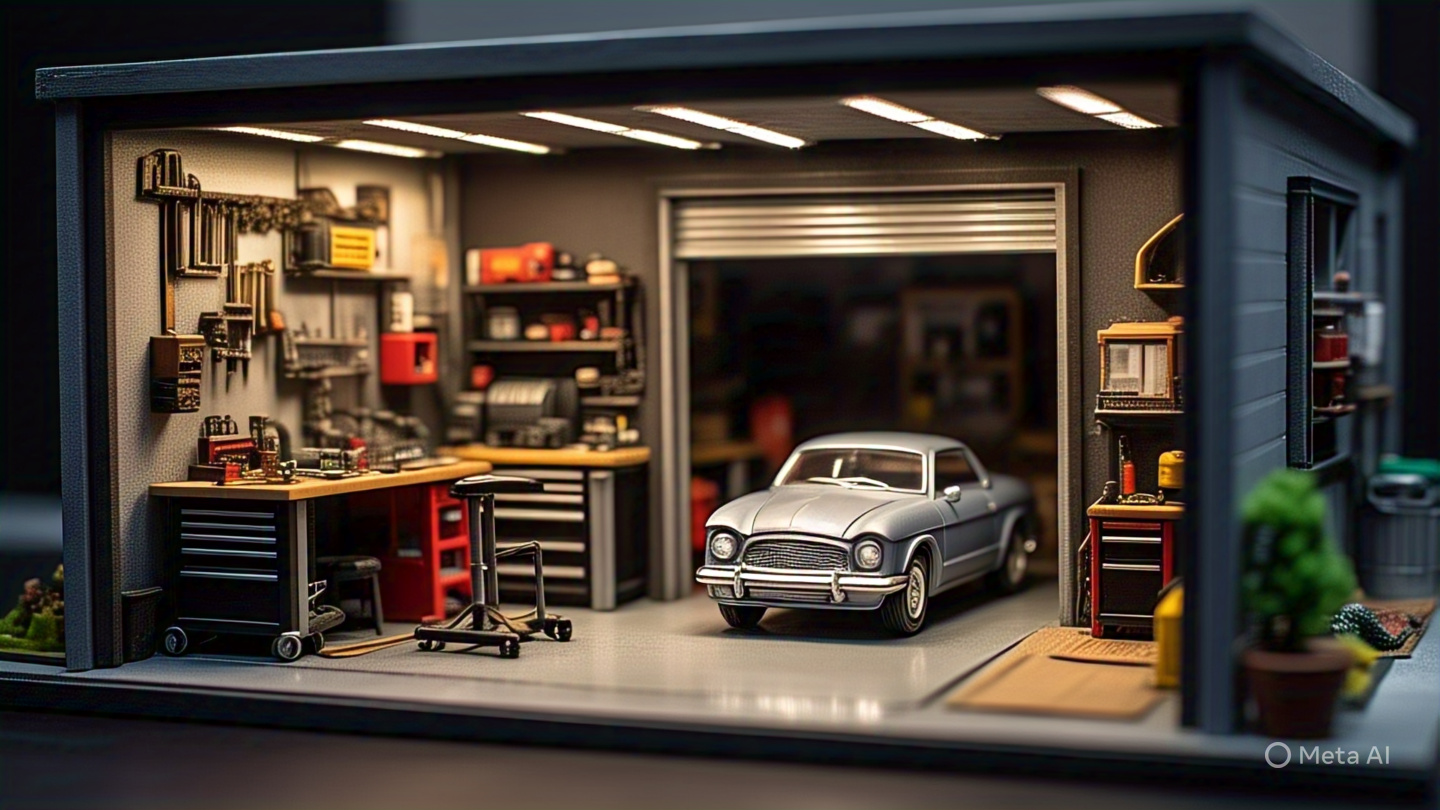
Once the primary construction of your 1/64 scale car garage diorama is complete, the next step is to focus on adding finishing touches that will elevate its overall appearance and realism. One effective method is to integrate effective lighting into your display. Miniature LED strip lights or small battery-operated lamps can create the perfect ambiance, replicating the warm glow of a garage while enhancing visibility for any small details. Positioning lights in strategic locations, such as above workbenches or near the main entrance, can draw attention to specific areas, giving life to the diorama.

In addition to lighting, including small tools and equipment can transform your garage diorama into a more authentic representation. Everyday items like tiny wrenches, screwdrivers, and even paint cans can be crafted from commonly found materials such as cardboard or plastic bottle caps. Integrating these elements not only adds character but also showcases your attention to detail. Additionally, placing vehicles within your garage serves as a focal point, allowing viewers to engage with this miniature environment.
Personalization is another vital aspect of adding finishing touches to your diorama. Consider creating custom signage or branding that reflects either a modern or vintage style, depending on your vision. This could include the garage name, car brands, or even motivational quotes tailored to car enthusiasts. Such details not only enhance the diorama’s authenticity but also allow it to resonate more with viewers.
Finally, showcasing your completed diorama effectively is crucial. Utilize clear display cases or well-chosen shelving to keep dust at bay while ensuring visibility. Positioning your diorama in a well-lit area can make all the difference, accentuating the intricate details of your miniature garage. By incorporating these finishing touches, you can create a captivating diorama that tells a story and celebrates the artistry behind model building.